 Creating a Web Photo Gallery using Bridge
Bridge automates the creation of your galleries
Adobe Bridge is an application that at its most basic provides an alternative way to browse for, and then open, an image from Photoshop. It offers better previews and file information, but also has a few extra tricks up its sleeve.
It used to be possible to create a gallery or contact sheet directly in Photoshop versions up to CS3. The advantage of moving this feature to Bridge is that you can more easily include other images, such as logotypes designed in Adobe Illustrator.
Automating takes the drudgery out of creating a Web Photo Gallery and especially having to optimise and resize both your final display images and also the smaller thumbnail images, together with linked Web pages. The pages generated with this command can display small thumbnails of a group of images—when you click on an image, a larger version is displayed within another window or section of the page. The gallery options can be customised to a degree when you make them, and further changes are possible using Dreamweaver. If these get too fiddly, it is often easier to just remake the gallery in Bridge with different settings. There are several styles of gallery, some of which create slideshows. Be aware that those employing Flash will not work on iPads and iPhones.
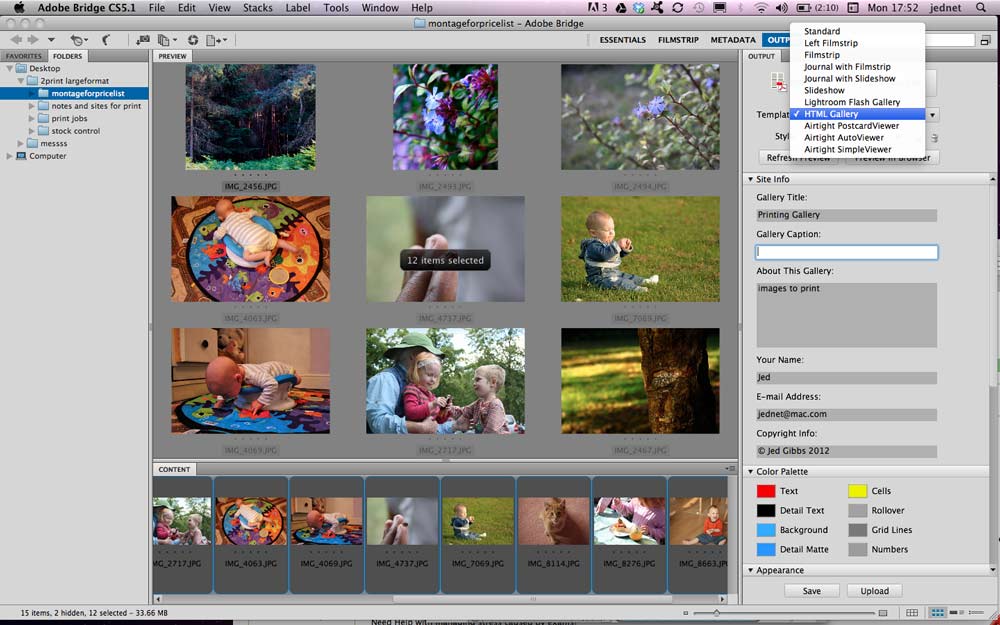
In Adobe Bridge, select the images that you want to use for the photo gallery.
On a Mac Command click to add or subtract an image. On Windows use Control click.
Click the Workspace menu, and then click Output. Click the Web Gallery button (the PDF option is great for contact sheets and printed brochures). Click the Template list arrow, and then select a template. Here I am choosing HTML as it is the easiest to edit and most useful if all you want is a folder of thumbnail images and of resized and optimised images. It also works on iPhones and iPads where Flash cannot.
Click the Refresh Preview button to view your template choices or click the Preview in Browser button to see how it would look on the Web.
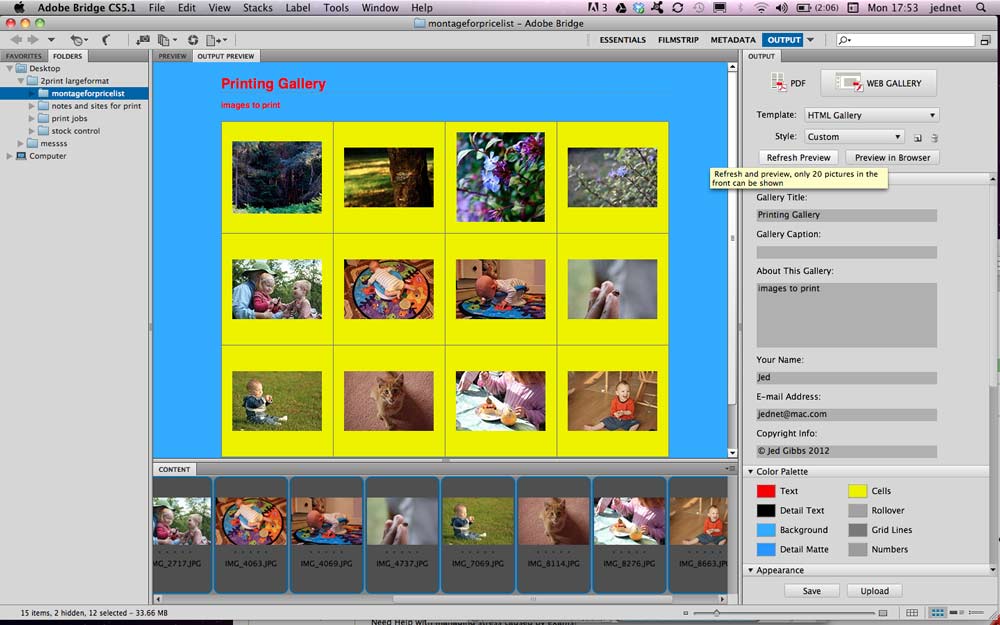
Customise your Web gallery:
Site Info. Provide descriptive information about the Web Photo gallery.
Color Palette. Select custom colours for screen elements.
Appearance. Specify options to show file names, a preview and thumbnail size, slide duration, and a transition effect.
In the Create Gallery panel, enter a gallery name, and then select a creation option: Save to Disk. Click Browse to specify a location, and then click Save.
Upload. You could type in the FTP server location, user name, password and a folder, and then click Upload - or just use Dreamweaver!