Lesson 1.1 Getting to know the work area
Selecting and using a tool from the toolbox
Applying a change to a selected area
Lesson 1.2 Getting to know the work area
Using the tool options bar and other palettes
Adding text to a postcard
Sampling a colour
Lesson 1.3 Getting to know the work area
Undoing actions in Photoshop
Choosing and using a brush
Lesson 3 Basic Photo Corrections (45min - 1 hour)
Understand image resolution and size
Straighten and crop an image
Adjust the tonal range of an image
Remove a color cast from an image using Auto Color correction
Adjust the saturation and brightness of isolated areas of an image using the Sponge and Dodge tools
Apply the Unsharp Mask filter to finish the photo-retouching process
Save an image file for use in a page-layout program.
Lesson 4a Retouching
Repairing areas with the Clone Stamp tool
Using the Spot Healing Brush tool
Lesson 4b Retouching
Using the Healing Brush to remove flaws
About snapshots and History palette states
Using the Patch tool
Using the History Brush tool to selectively reedit
Lesson 4c Retouching
Retouching on a separate layer
Using the Healing Brush on a duplicate layer
Patching and softening using the separate layer
Lesson 5 Working with Selections (less than 1 hour)
Make specific areas of an image active using various tools
• Reposition a selection marquee
• Move and duplicate the contents of a selection
• Use keyboard-mouse combinations
• Deselect a selection
• Constrain the movement of a selected area
• Adjust the position of a selected area using the arrow keys
• Add to and subtract from a selection
• Rotate a selection
• Use multiple selection tools to make a complex selection
• Erase pixels within a selection
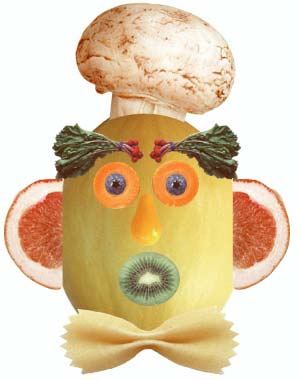
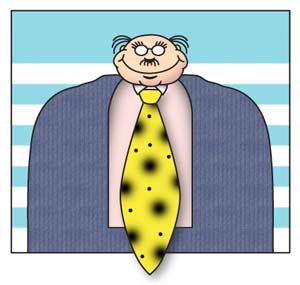
Mr Melon Head Working with Selections
(an extension exercise without notes)
Positioning and resizing elements

Lesson 6 Layer Basics (about an hour)
Organize artwork on layers
• Create, view, hide, and select layers
• Rearrange layers to change the stacking order of artwork
• Apply blending modes to layers
• Link layers to work on them simultaneously
• Apply a gradient to a layer
• Add text and layer effects to a layer
• Save a copy of the file with the layers flattened
Lesson 7 Masks and Channels (about an hour)
• Refine a selection using a quick mask
• Save a selection as a channel mask
• View a mask using the Channels palette
• Load a saved mask and apply effects
• Paint in a mask to modify a selection
• Make an intricate selection using the Extract command
• Create and use a gradient mask

Lesson 9 Typographic Design (about an hour)
• Use guides to position text in a composition
• Make a clipping mask from type
• Merge type with other layers
• Use layer styles with text
• Preview typefaces interactively to choose them for a composition
• Control type and positioning using advanced type palette features
• Warp a layer around a 3D object

Lesson 10 Vector Drawing Techniques
• Differentiate between bitmap and vector graphics
• Draw straight and curved paths using the Pen tool
• Convert a path to a selection, and convert a selection to a path
• Save paths
• Draw and edit layer shapes
• Draw custom layer shapes
• Import and edit a Smart Object from Adobe Illustrator
Lesson 11 Advanced Layer Techniques
• Create clipping groups so that an image on one layer can be a mask for artwork on other layers
• Create layer sets to organize and manage layers
• Add adjustment layers to an image, and use them to apply color and tonal adjustments without permanently changing pixel data
• Create knockout layers to use one layer selectively to reveal others
• Import layers from other Photoshop files
• Work with type layers; Duplicate and clip layers
• Add layer styles to a layer, and apply the effects to multiple layers
• Rasterize layers; Convert clipping paths to masks
• Liquify a layer, giving it a melted appearance
• Flatten and save a layered file, greatly reducing its file size